Glasses & Bottles
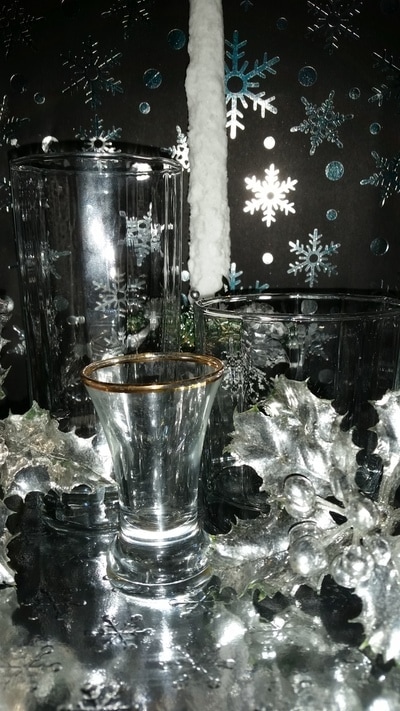
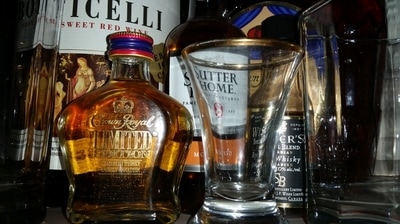
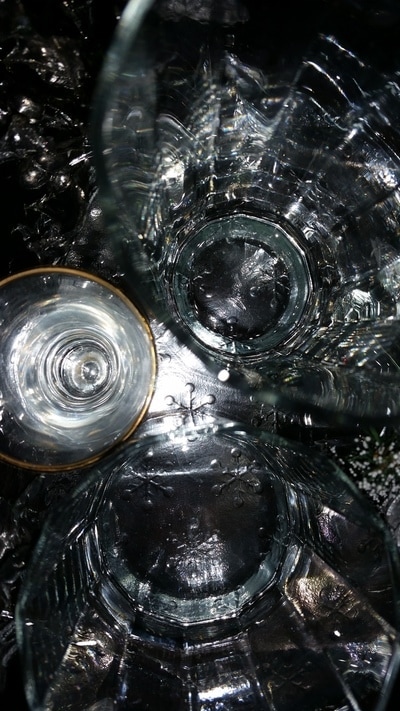
I edited the brightness, contrast and saturation for all the pictures where the light has reflected on the glasses and bottles. For the wine bottles with one glass, I wanted to focus on the dust of the bottles, so I zoomed in to get that specific detail. I chose the snowflake background for two of these pictures because it matches the decoration and glasses I've placed and it makes the pictures stand out with great detail. Every time I look at these pictures, I always think that it's Christmas and that we are celebrating a new year with a wonderful surprise.
Patterns
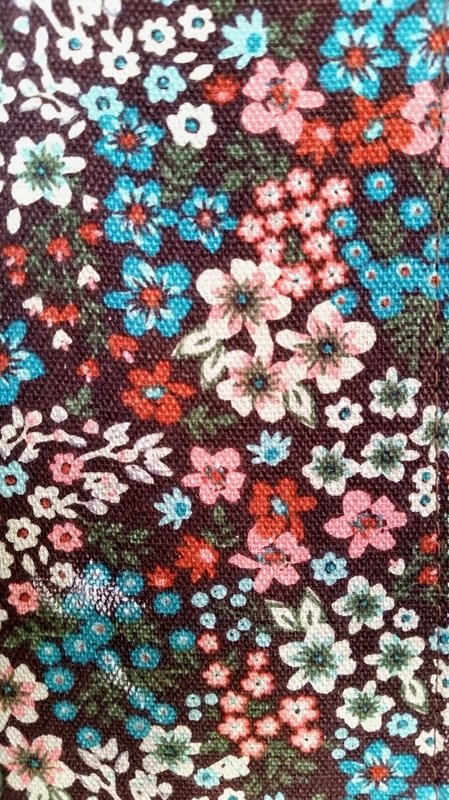
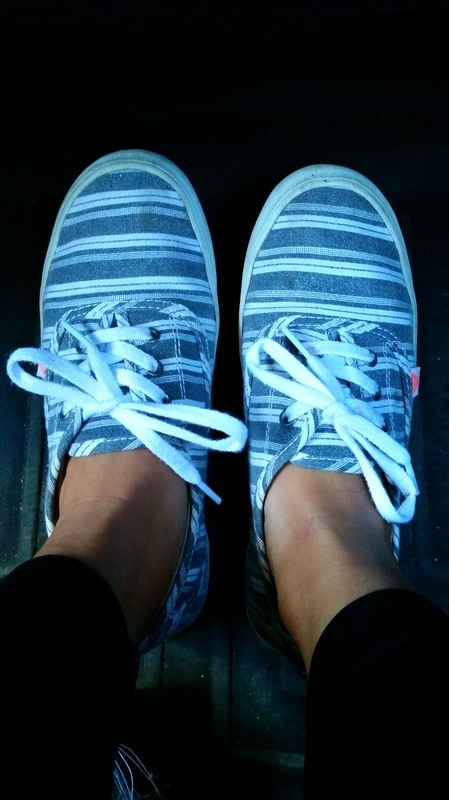
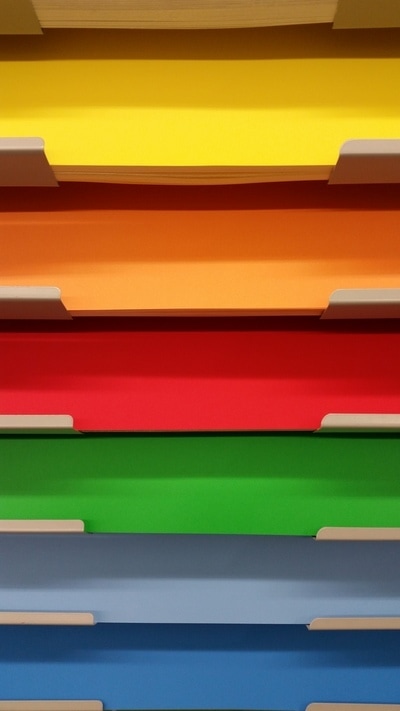
For the flowers, I've increased the saturation to 9, the contrast to 12 and the brightness to 5. For the shoes, I've increased the contrast to 10, the saturation to 25, and the brightness too. At first, there was some stains on the shoes, so I've used the pick tool to find the same color as the grey part of the shoe to replace some of the stains with the grey color. In the original picture, the skin was too light, so I edited the skin to make it a little bit darker. For the colored paper, I've only adjusted the brightness to make the colors more colorful. All three of these pictures remind of spring season because of the beautiful colors that's been used and how it was edited.
Initials in name
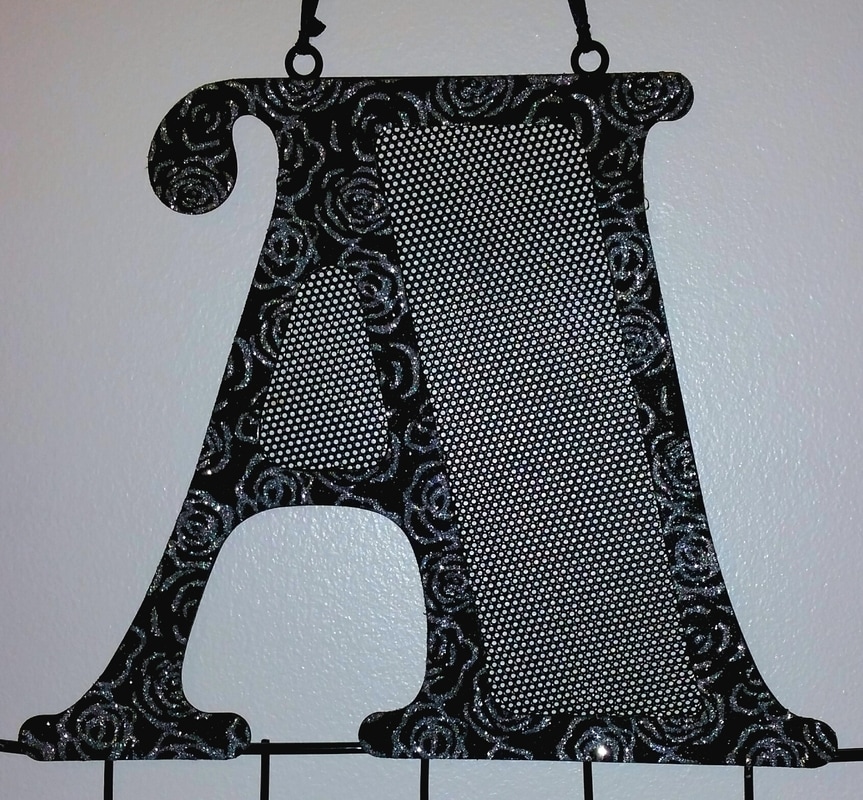
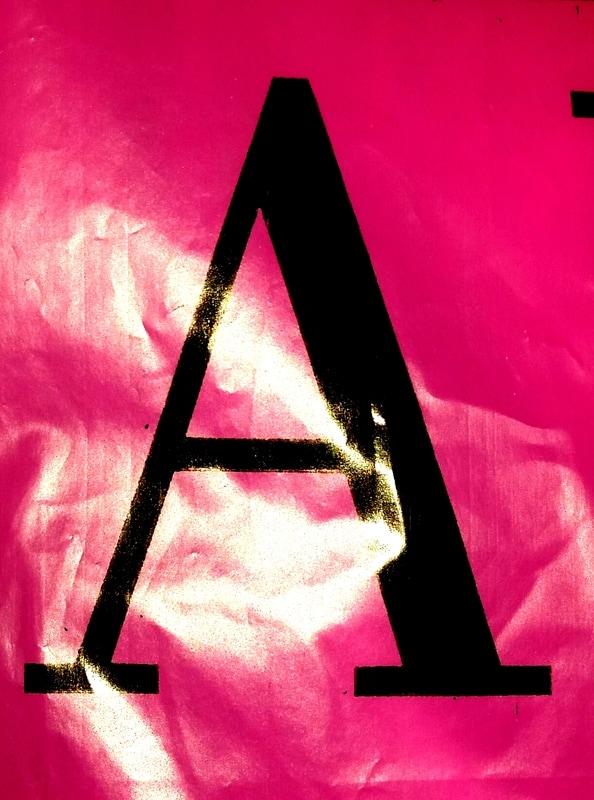
For the letter "A" with the roses on it, I increased the brightness and put the saturation up, so the white background can match the letter's color. For the letter "V", I increased the contrast to 30 and saturation to 10. At first, the blue color was too light, so I made the blue a bit darker for the "V" stand out in the middle. For the other letter "A" with the pink background, I only increased the saturation to 25, so that the "A" can be bolder with the dark color that's been used. My favorite is the letter "A" with the roses on it because it's simple and has simple colors.
hands
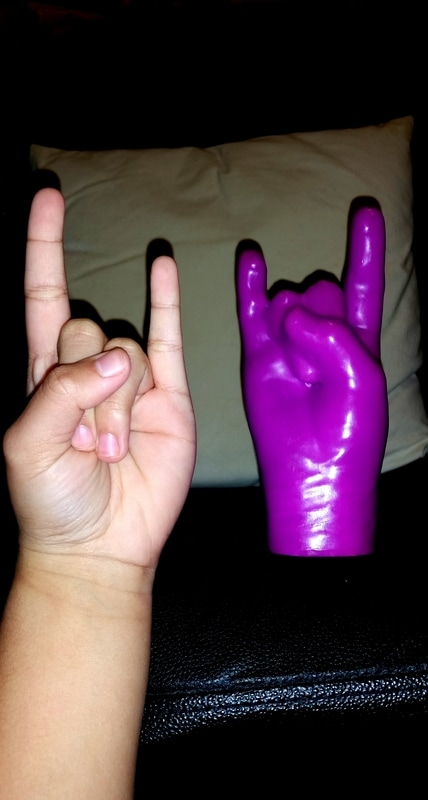
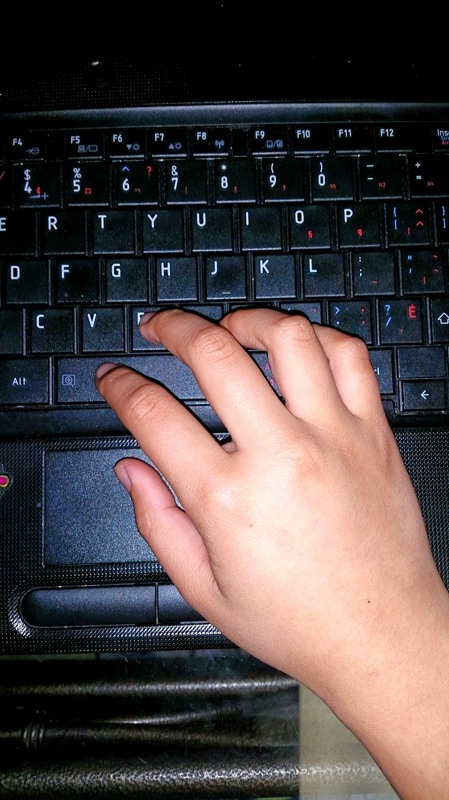
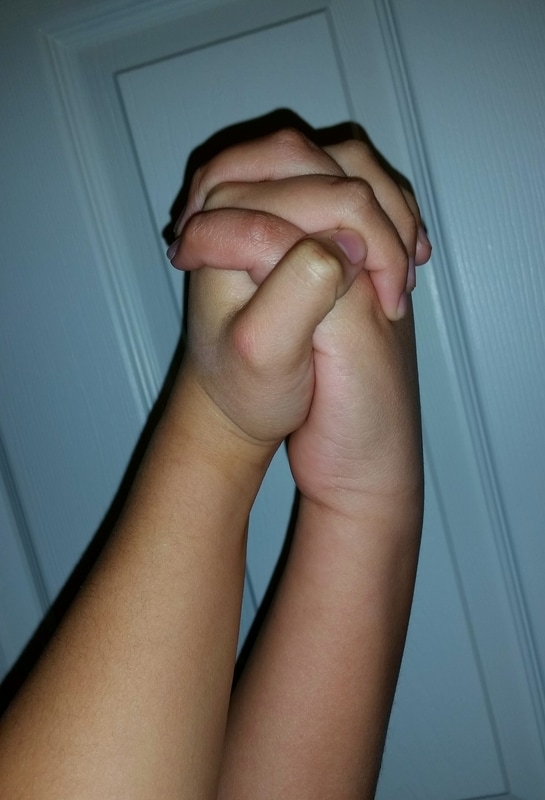
For the wax hand picture, I've increased the saturation to 12, the contrast to 14 and the brightness just by a little. For the holding hands photo, at first, the hands skin was too light to see, so I edited the saturation to 30, and contrast to 25. Then, I darkened up the shadows of the hands. For the keyboard hand photo, I edited the saturation to 10, increased the contrast to 5, and decreased the brightness to focus on the hands more. I like the keyboard hands the most because it represents how hard everyone one of us work as hard as we can to succeed in our life.
Art banner contest

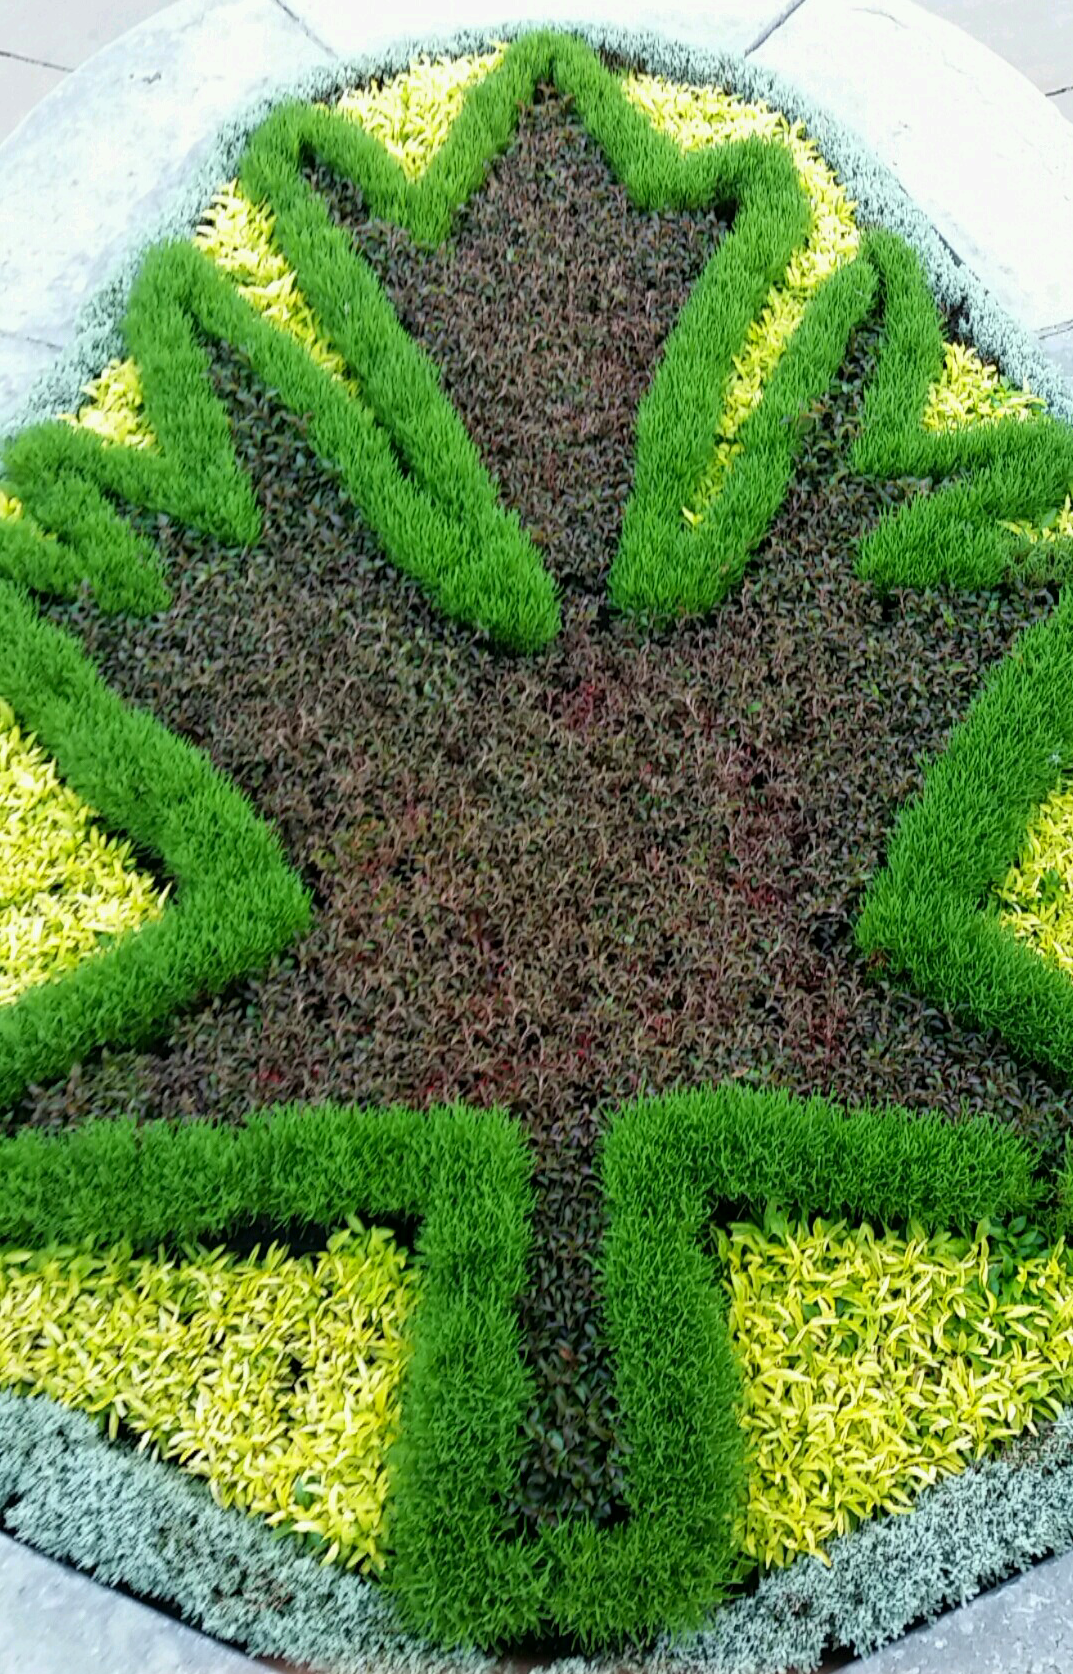
For the tree picture, I've decreased the brightness to -11, increased the saturation to 10 and the contrast to 6. I focused mostly on the sky if it would match the darkness of the tree. For the Canadian leaf picture, I increased the saturation to 20 and the brightness to 20 too. I chose this picture because of the colors that were on it and to know that all the nature around makes us smile. For the third picture, I mainly focused on the sky as well to bring out the color of the sky, which I only edited the saturation to 20.
detailed portrait
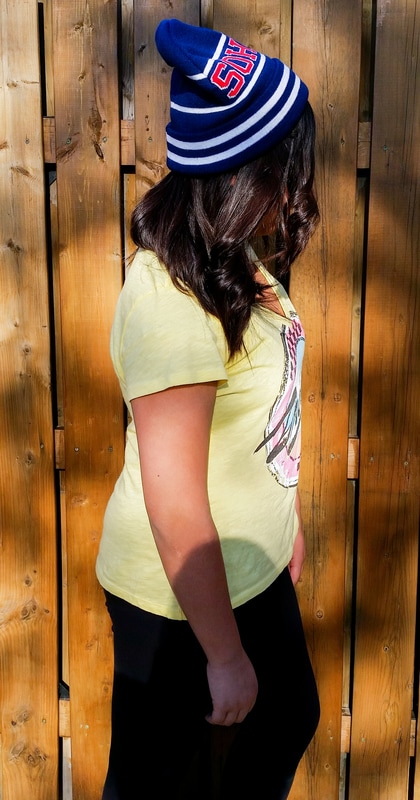
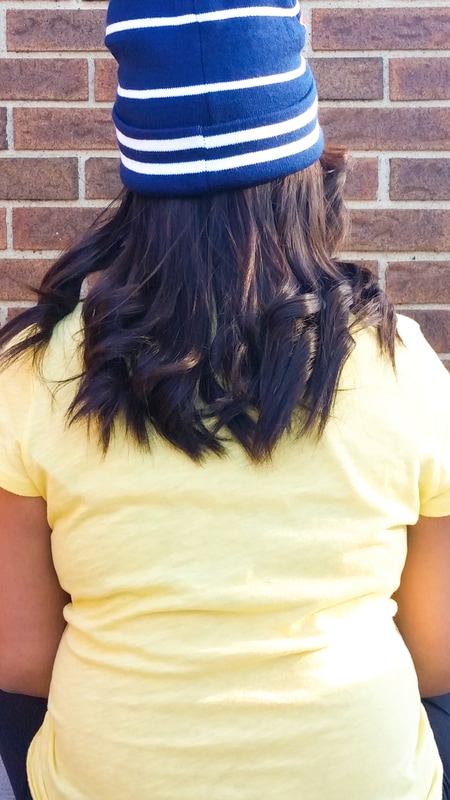
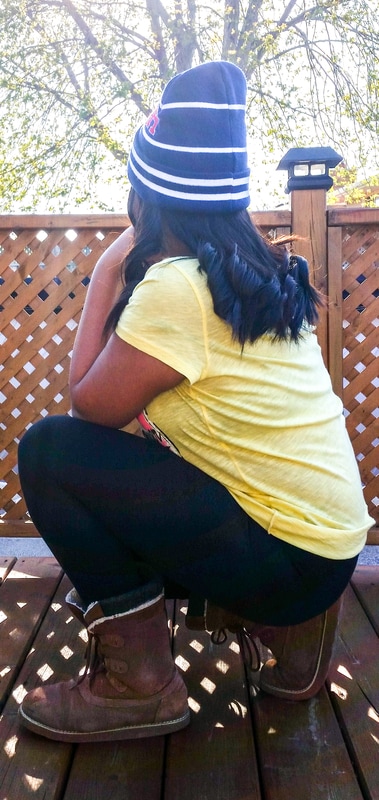
For the first photo, I decreased the temperature to -6, increased the tint to 14, increased the exposure to 1.50, increased the contrast to 29, decreased the highlights to -65, increased the shadows to 2, decreased the whites to -42, and decreased the blacks to -36. For the second photo, I increased the temperature to 15, decreased the tint to -2, increased the exposure to 0.40, increased the contrast to 22, increased the highlights to 23, increased the shadows to 29, increased the whites to 18, increased the blacks to 9, increased the vibrance to 32, and increased the saturation to 9. For the final photo, I increased the temperature and the tint to 6, increased the exposure to 1.00, increased the contrast to 12, decreased the highlights to -100, increased the shadows to 59, increased the whites to 100, decreased the blacks to -8, and increased the clarity to 7.
easter
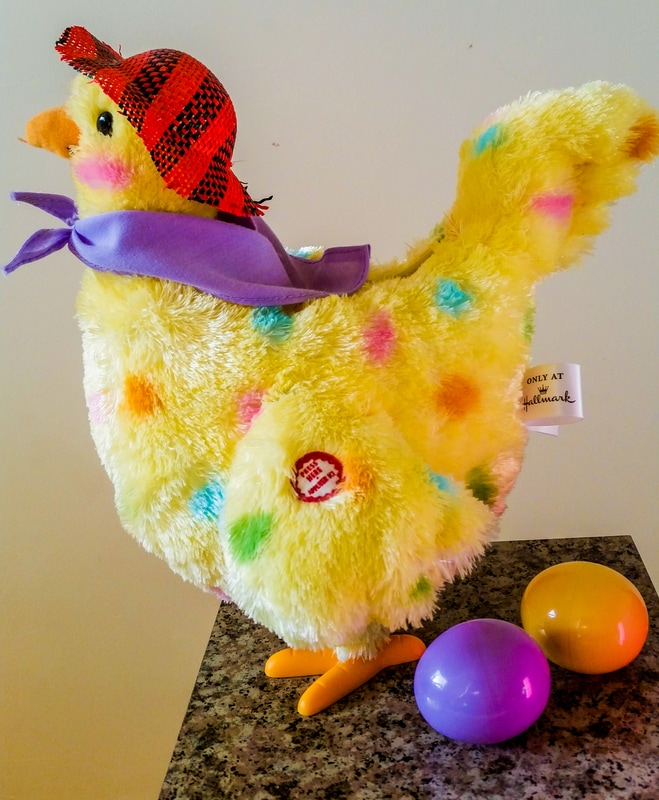
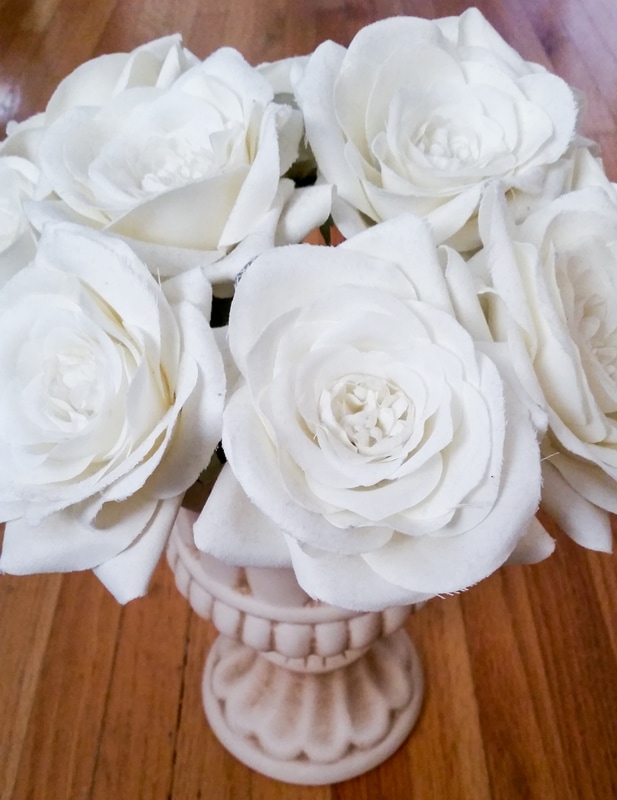
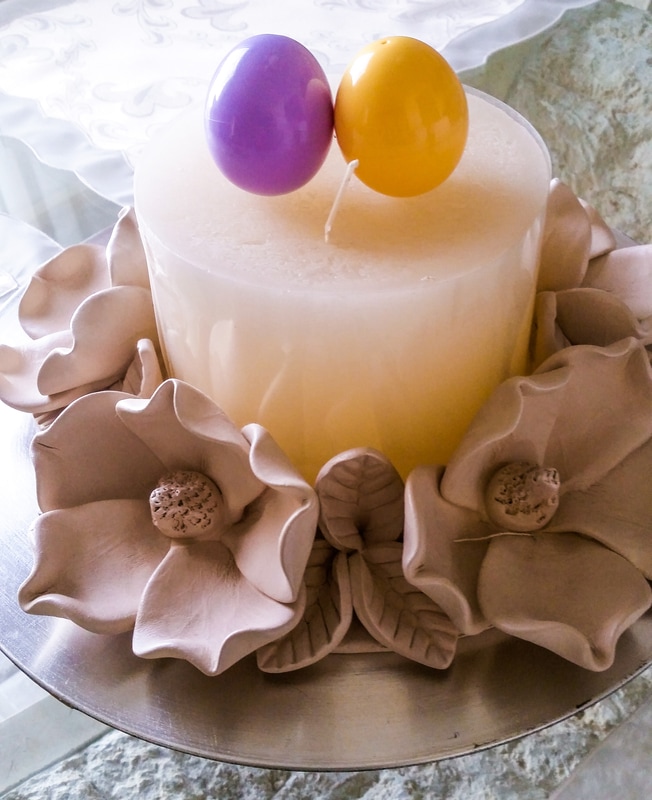
For the first photo, I increased the tint to 15, decreased the exposure to -0.05, increased the contrast to 100, decreased the highlights to -2, increased the shadows to 100, increased the whites to 30, decreased the blacks to -22, increased the clarity to 11, and increased the vibrance to 39. For the chicken photo, I increased the temperature to 1, decreased the tint -10, decreased the exposure to 0.75, increased the contrast to 87, decreased the highlights to -91, increased the shadows to 84, decreased the whites and the blacks to -67, increased the clarity to 18, and increased the 63. For the flower bouquet photo, I decreased the temperature to -7, increased the tint to 8, increased the exposure to 0.70, increased the contrast to 38, decreased the highlights to -16, increased the shadows to 42, increased the whites to 21, and decreased the blacks to -58.
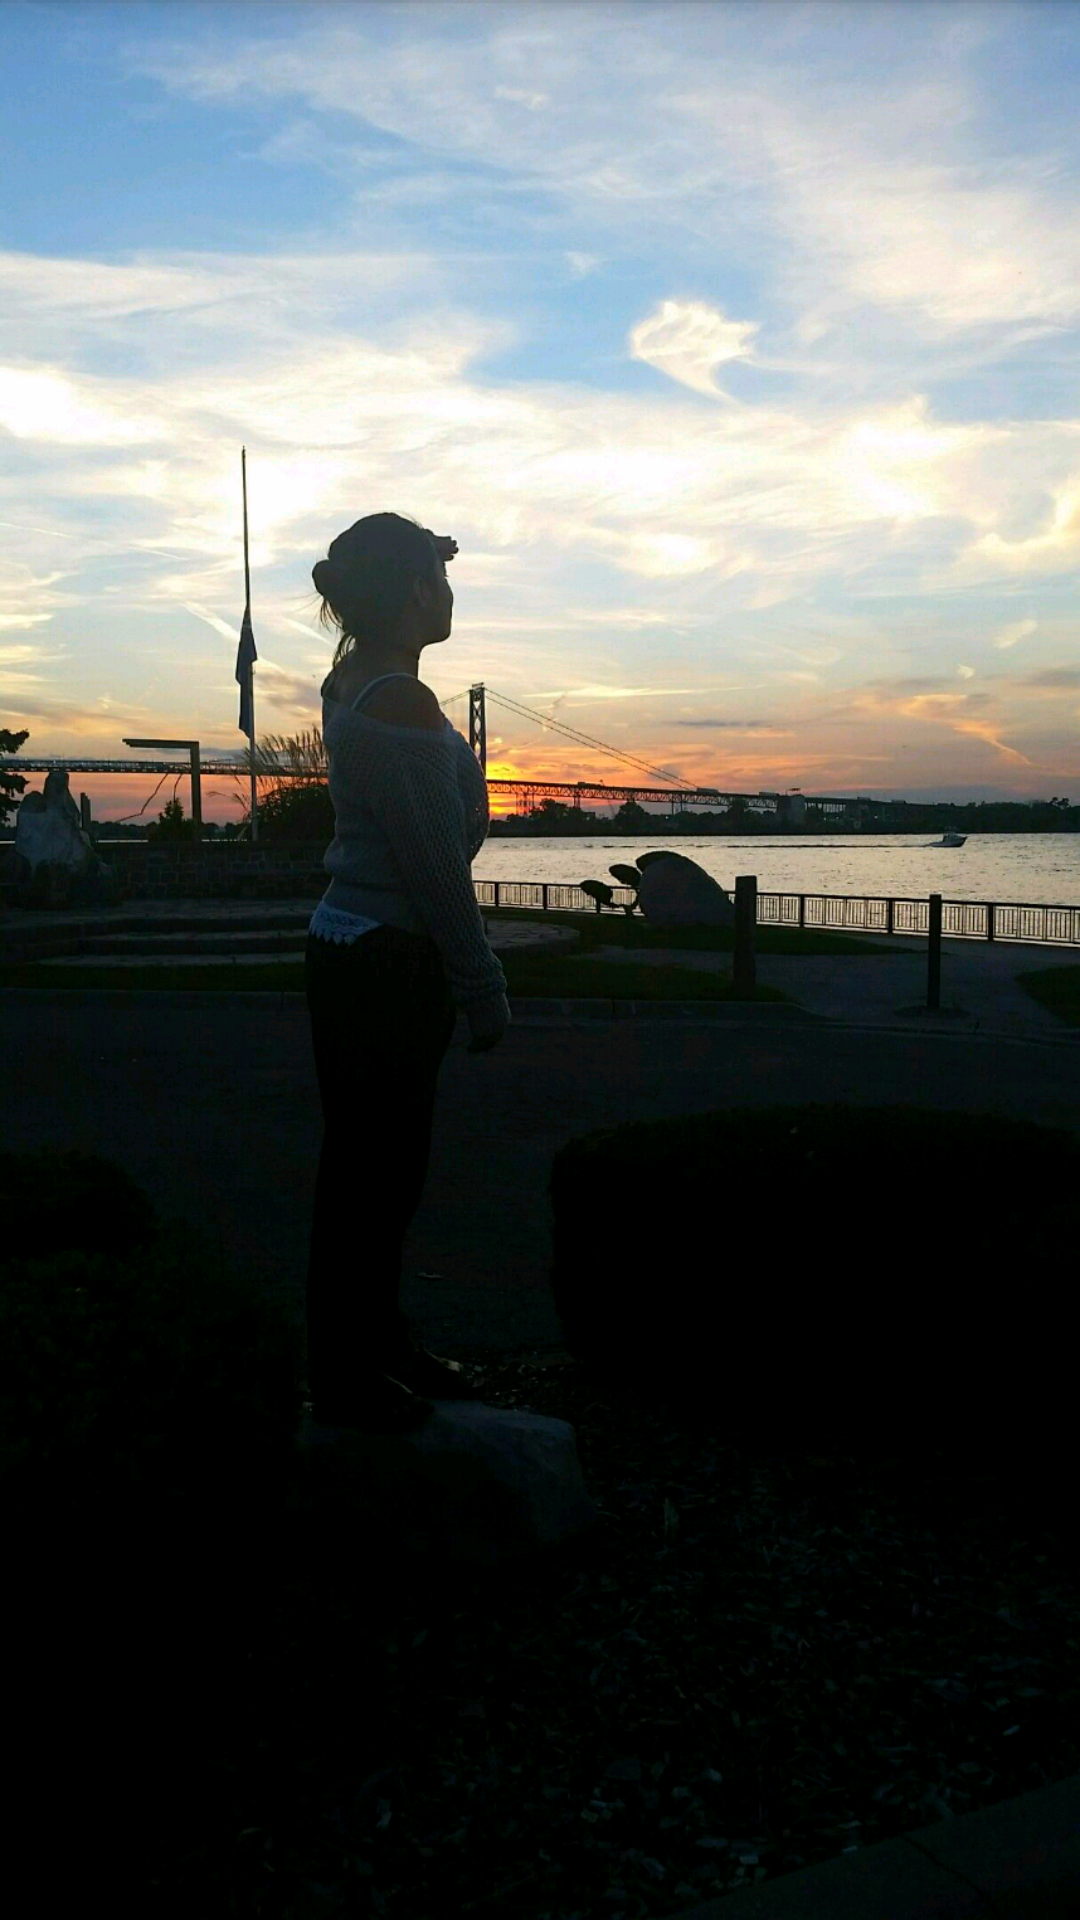
Little girl (elements of exposure)
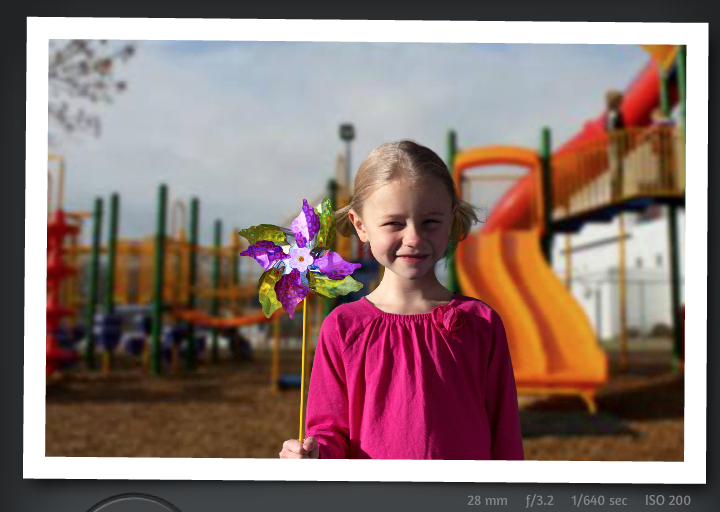
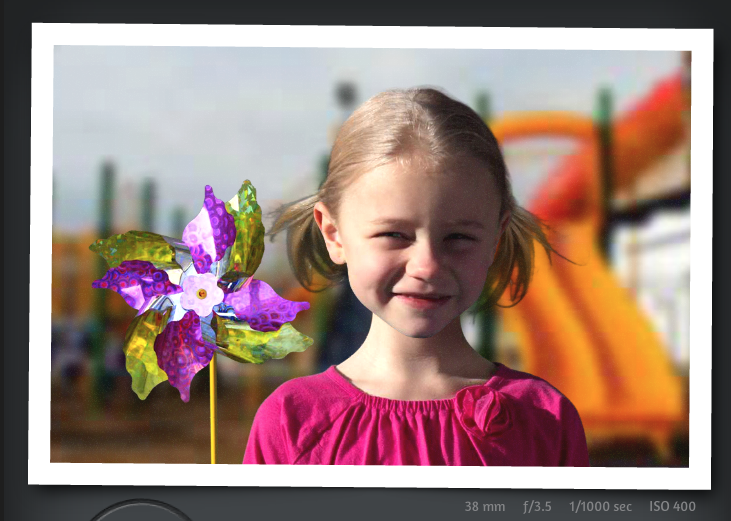
Focused on the little girl more than the background. So, blurred out the background and focused on the girl. Tried to get a clear picture of the pinwheel while the picture was moving, as well as the girl too. Made the brightness a little bit bright to look like a sunny day to go to the park.
